June 05, 2026
Release 7.0
Release Notes
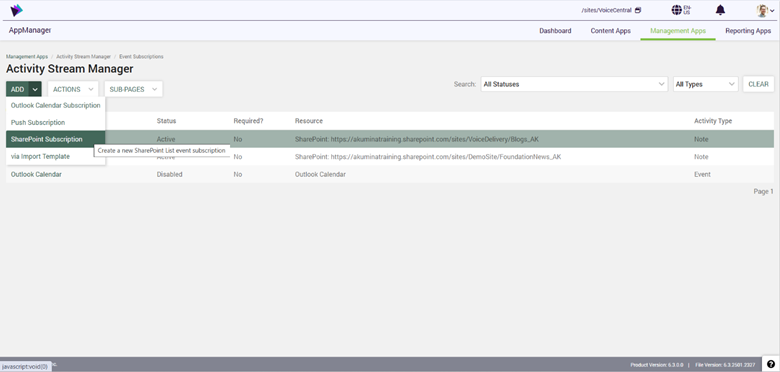
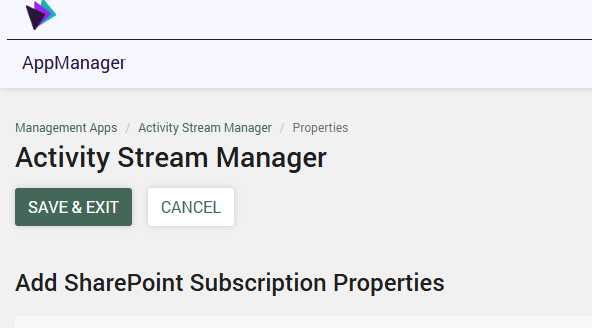
Click on ADD button and from the dropdown select SharePoint Subscription
Select SharePoint site that the list exists in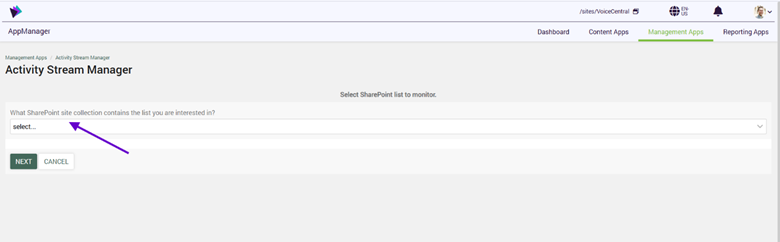
Once you select the site you will select the site again or a subsite if desired
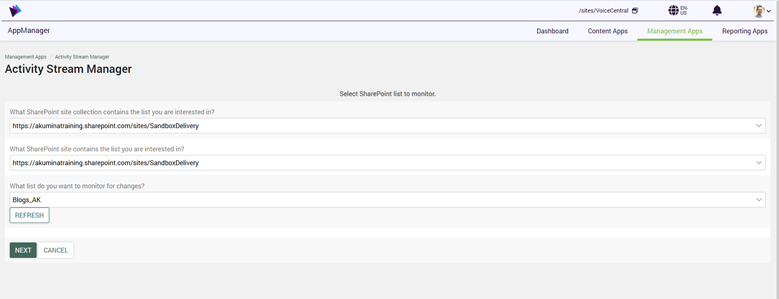
Then you will select a list. If the list is newly created and you do not see it. You can click REFRESH to refresh the SharePoint list cache.
Once finished click NEXT
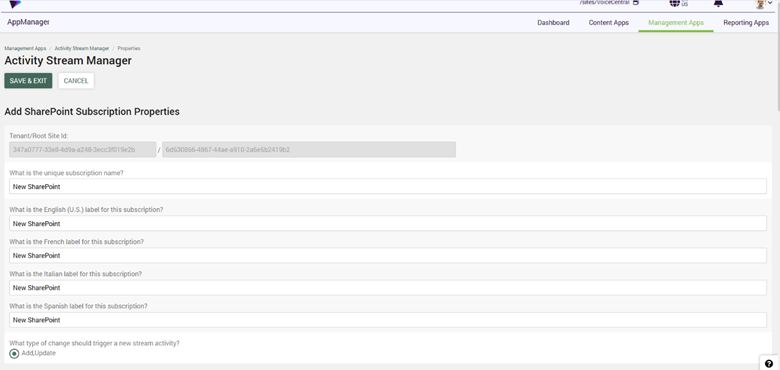
Type in your subscription name. This will be an internal name. The name provided to the users are next. You will need to add a label for each language if you are using other languages.

The platform can check Sharepoint for changes on Add or updates to list items every X minutes or X hours. There is a rolled-up option. Let’s say there is a high volume of changes to a list instead of having 30 new blog items in the stream over 15 minutes they can all be rolled into one item and the user can scroll through them. This is your choice whether you should do a rolled-up stream or not. Typically, better for high volume changes. The less changes you have, the higher number you should have for checking for changes on the stream. There is an optional filter that can filter certain items to display or not display in your stream. To understand more on this topic click here

The first checkbox will set the stream as required for all users. The next field allows your team to determine who can have the chance to see the stream. Is it everyone? A particular Persona? Or an Entra ID group? Your choice!

How many days should any stream item stay in someone’s feed? Set the number of days it should last.
What priority should this stream have? This is a filter that users can filter to see certain levels of priority.
What type of activity object do you want this subscription to build? This is the card for the activity item. Generally, you should use Note option for a SharePoint list subscription.
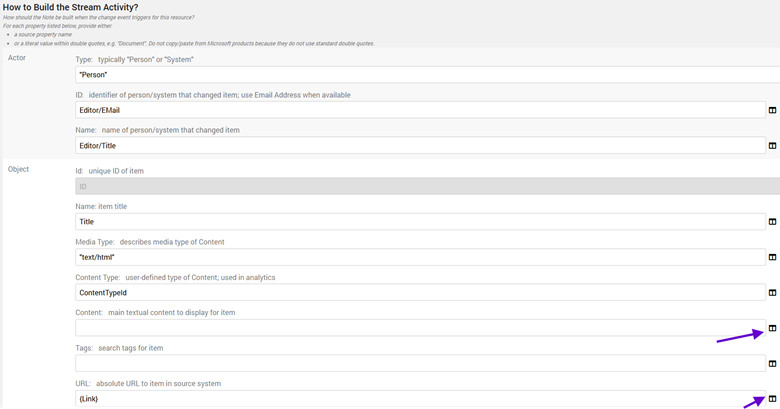
Content: Add a Content field like body or summary to display to your stream consumer
URL: use friendly url
Click on the columns button to pick a field


Click on your stream. And click Actions button > Activate
Please note you will need to wait for this to fully sync.